Master Forge 0332738 User Manual
Browse online or download User Manual for Barbecues & grills Master Forge 0332738. miSe eN GarDe [en]
- Page / 56
- Table of contents
- BOOKMARKS
- CHARCOAL 1
- SMOKER/GRILLER 1
- SAFETY INFORMATION 3
- PACKAGE CONTENTS 5
- PREPARATION 6
- ASSEMBLY INSTRUCTIONS 10
- OPERATING INSTRUCTIONS 11
- Figura 1 12
- Figura 2 12
- Figure 3 12
- Figure 4a 12
- Figure 4c 13
- Figure 4b 13
- CARE AND MAINTENANCE 16
- LIMITED WARRANTY 17
- REPLACEMENT PARTS LIST 18
- BARBECUE FUMOIR 19
- AU CHARBON DE 19
- AVERTISSEMENT 20
- CONSIGNES DE SÉCURITÉ 21
- CONTENU DE L’EMBALLAGE 23
- PRÉPARATION 24
- MODE D’EMPLOI 29
- ENTRETIEN 34
- MISE EN GARDE 35
- LISTE DES PIÈCES DE RECHANGE 36
- PARRILLA/ 37
- AHUMADOR A 37
- ADVERTENCIA 38
- INFORMACIÓN DE SEGURIDAD 39
- CONTENIDO DEL PAQUETE 41
- PREPARACIÓN 42
- INSTRUCCIONES DE ENSAMBLAJE 43
- Primer uso 47
- Instrucciones de encendido 47
- Figura 3 48
- Figura 4a 48
- Figura 4b 49
- Figura 4c 49
- Agregar más agua 50
- Control de las llamaradas: 51
- Minimice las llamaradas: 51
- CUIDADO Y MANTENIMIENTO 52
- PRECAUCIÓN 53
- LISTA DE PIEZAS DE REPUESTO 54
- CBS1101L-OM-109 EFS 56
Summary of Contents
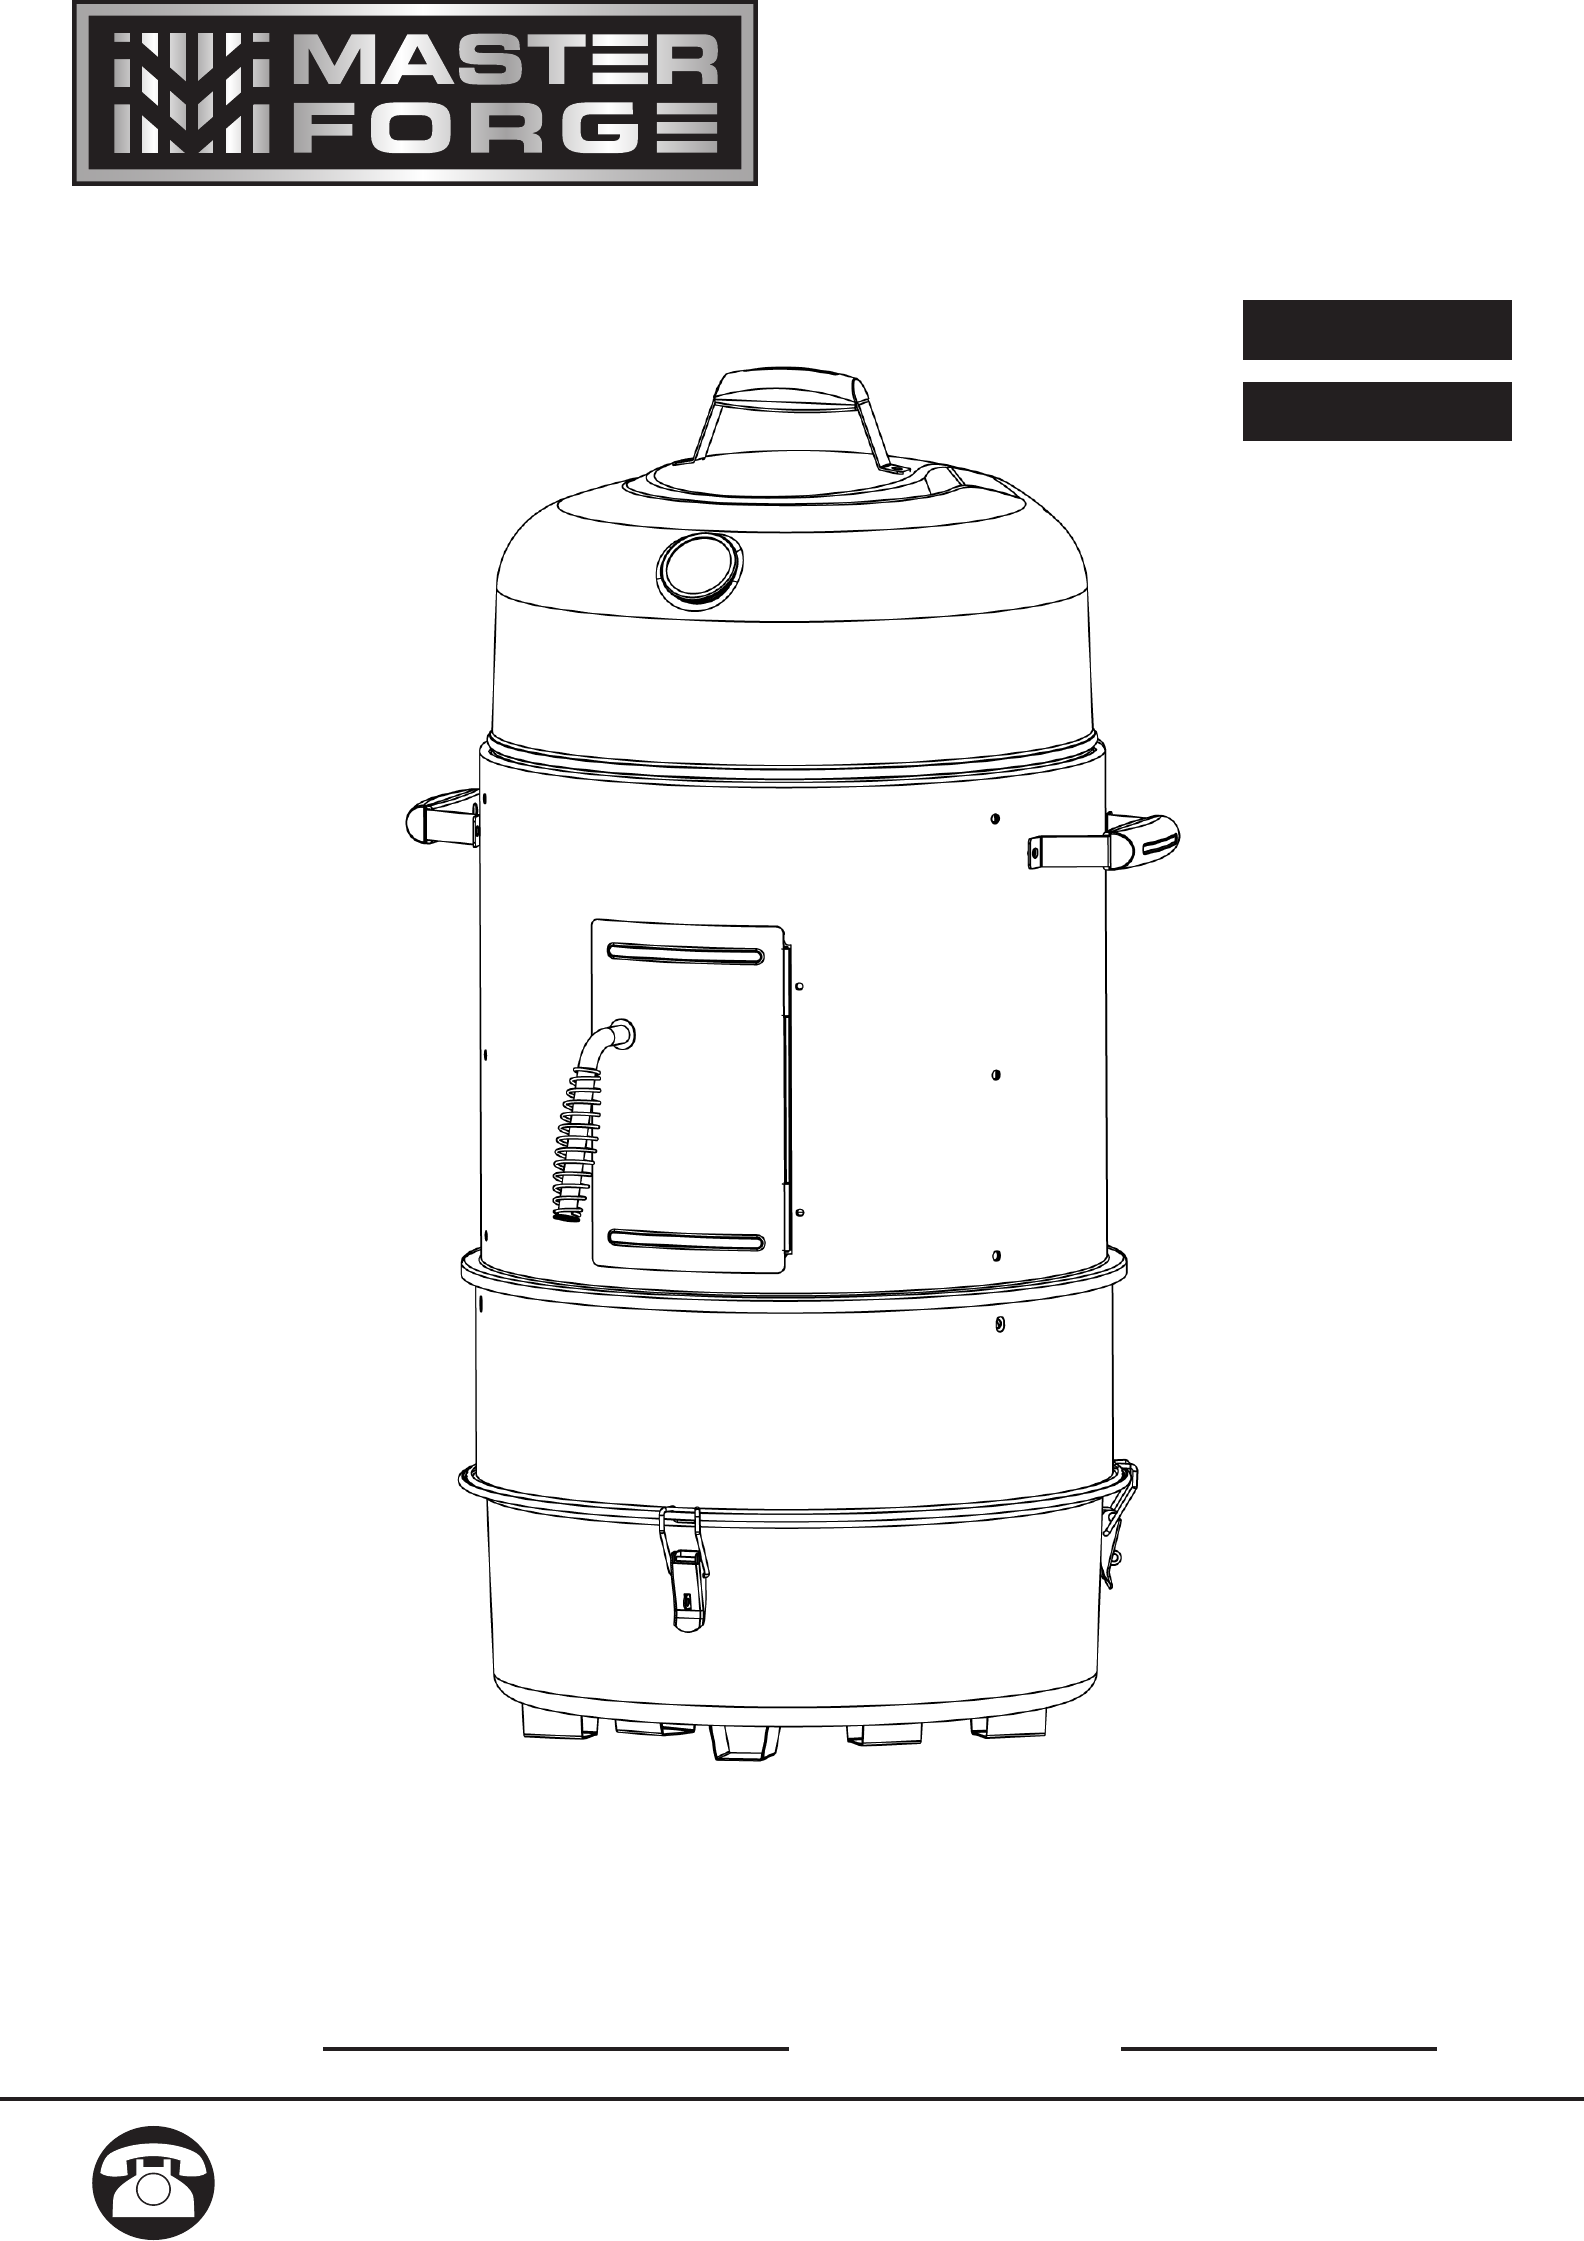
1®ITEM #0332738CHARCOAL SMOKER/GRILLER MODEL #CBS1101LFrançais p. 19Español p. 37ATTACH YOUR RECEIPT HERESerial Number Purchase Date Que
10ASSEMBLY INSTRUCTIONS10. Insert the water pan (F) and cooking grids (D) into smoker body. Place the lid (B) onto smoker body.10
11OPERATING INSTRUCTIONS This appliance is designed for use only with quality charcoal briquettes, lump charcoal and cooking wood.CAUTIONNever use cha
12Lighting InstructionsCAUTIONCheck to make sure the air vents are free of debris and ash before using the smoker.CAUTIONBefore each use check smoker
13Grilling InstructionsOption 1 - Grill: Direct CookingCAUTIONAlways check to make sure the smoker/grill is free of debris and ash before using the gr
14grid and place addit
15 a. While wearing protective gloves and using long cooking tongs, remove food and upper cooking grid. b.
166. When indirect cooking roasts and larger cuts of meat, place meat onto a roasting rack inside a heavy gauge metal pan. 7. Clean cooking grids an
17Tips2. Applying a light coat of vegetable oil or vegetable oil spray to the interior su
18ABCDGLMFHJKDELLAAREPLACEMENT PARTS LIST For replacement parts, call our customer service department at 1-800-963-0211, 8 a.m. - 6 p.m., Monday - Thu
19®ARTICLE #0332738BARBECUE FUMOIR AU CHARBON DE BOIS MODÈLE #CBS1101LJOIGNEZ VOTRE REÇU ICINuméro de série Date d’achat Des questions,
2TABLE OF CONTENTSSafety Information ... 3Package Contents ...
20TABLE DES MATIÈRESConsignes de sécurité ... 21 .
21CONSIGNES DE SÉCURITÉ
22CONSIGNES DE SÉCURITÉ
23CONTENU DE L’EMBALLAGEPièce Description QuantitéAPoignée3BCouvercle1CJauge de température1DGrille de cuisson2ESupport pour grille de cuisson6FCuve à
24QUINCAILLERIE INCLUSEAA BB CC DDVis M4 de 15 mmVis M5 de 12 mm
25INSTRUCTIONS POUR L’ASSEMBLAGE écrou à oreille (C).
26INSTRUCTIONS POUR L’ASSEMBLAGE
27INSTRUCTIONS POUR L’ASSEMBLAGE8. Placez le corps du fumoir dans la cuve inférieure (M).89. Pour verrouiller le barbecue fumoir :
28INSTRUCTIONS POUR L’ASSEMBLAGE10. Insérez la cuve à eau (F) et les grilles de cuisson (D) dans le corps du fumoir. Posez le couvercle (B) sur le
29MODE D’EMPLOIMISE E
3SAFETY INFORMATIONPlease read and understand this entire manual before attempting to assemble, operate, or install the product. If you have any ques
30MODE D’EMPLOIinstructions figurant sur son emballage.MISE EN GARDELorsque vous utilisez un
314. Disposez les briquettes de charbon ou autre combustible sur la grille à charbon. (Figure 1, p. 12)5. Allumez les charbons selon les instruction
32charbons chauds.MISE E
33remplissez pas le réservoir au-delà de la ligne de remplissage.MISE EN GARDELorsque vous versez l’eau, tenez-vous à côté du fumoir et soyez extrêmem
342. Assurez-vous que votre fumoir est sur une surface dure, plane et non combustible.Conseils pour obtenir une meilleure cuisson et prolonger la dur
35MISE EN GARDEÀ l’aide d’un boyau d’arrosage, mouillez complètement la surface sous le fumoir et autour de celui-ci pour éteindre les cendres, les br
36ABCDGLMFHJKDELLAALISTE DES PIÈCES DE RECHANGEPour obtenir des pièces de rechange, veuillez communiquer avec notre service à la clientèle au 1 800 96
37®ARTÍCULO #0332738PARRILLA/AHUMADOR A CARBÓN MODELO #CBS1101LADJUNTE SU RECIBO AQUÍNúmero de serie Fecha de compra ¿Preguntas, problema
38ÍNDICEInformación de seguridad ... 39Contenido del paquete ...
39INFORMACIÓN DE SEGURIDADLea y comprenda completamente este manual antes de intentar ensamblar, usar o instalar el producto. Si tiene preguntas relac
4SAFETY INFORMATION a. Smoker must be cool. b. Remaining coals and ashes must be carefully removed and plac
40INFORMACIÓN DE SEGURIDAD
41CONTENIDO DEL PAQUETEPieza Descripción CantidadA 3B Tapa 1C Indicador de temperatura 1D 2Ecocción
42AA BB CC DDCant. 8Cant. 18Tuerca mariposa de M4Cant. 8Tuerca ma
43INSTRUCCIONES DE ENSAMBLAJE ndicador de temperatura (C) a la tapa (B) con un tuerca de mariposa (C).
44INSTRUCCIONES DE ENSAMBLAJE superior del cuerpo del ahumador (G) con tres tornillo
45INSTRUCCIONES DE ENSAMBLAJE8. Coloque el cuerpo del ahumador en la fuente inferior (M).89. Para cerrar el ahumador/parrilla: Cierre la puerta.
46INSTRUCCIONES DE ENSAMBLAJEel cuerpo del ahumador. Coloque la tapa (B) en el
47INSTRUCCIONES DE FUNCIONAMIENTOEste artefacto está diseñado sólo para usarse con briquetas de carbón, carbón en trozos y madera para leña de calidad
48ceniza clara antes de cerrar la puerta y colocar la tapa sobre el ahumador.
49para el carbón.
5PACKAGE CONTENTSPart Description QuantityAHandle3BLid1CTemperature Gauge1DCooking Grid2ECooking Grid Support6FWater Pan1GUpper Smoker Body1HDoor1IWat
50menos que se trate
51 d. Vuelva a colocar la tapa en el ahumador.
524. Coloque los alimentos delicados, como pescados y verduras, envueltos en papel de aluminio y cocínelos indirectamente o sobre el nivel de cocción
53Limpieza de superficies1. Limpie todas las superficies con agua tibia y detergente para platos suave o bicarbonato de sodio.2. Para las superficies
54ABCDGLMFHJKDELLAALISTA DE PIEZAS DE REPUESTO
56CBS1101L-OM-109 EFS
6HARDWARE CONTENTSAA BB CC DDQty. 8Qty. 18Qty. 8Qty. 18PREPARATIONBefore beg
7ASSEMBLY INSTRUCTIONS1. Attach temperature gauge (C) to lid (B) using one wing nut (C). Attach handle (A) to lid (B) using two screws (BB) and t
8ASSEMBLY INSTRUCTIONS5. Attach lower smoker body (J) to upper smoker body (G) using three screws (BB) and three wing nuts (DD). Hardware usedBB
9ASSEMBLY INSTRUCTIONS8. Place smoker body onto bottom bowl (M).89. To lock the smoker/grill: Close the lid. Slide the lock forward, till the side
Related products and manuals for Barbecues & grills Master Forge 0332738


 (111 pages)
© 2020, manymanuals.com. All rights reserved. | 1.668 s |
 Manymanuals.com
 Manymanuals.de
 Manymanuals.fr
 Manymanuals.it
 Manymanuals.pl
 Manymanuals.cz
 Manymanuals.es
 Manymanuals-pt.com
Comments to this Manuals